How to Get Better at Handstands: 7 Important Tips
If you want to learn how to get better at handstands, you should be ready to take more than one or two steps. In this article, we will take a look at everything you need to do to get better at this exercise, including workouts for handstands, handstand tips, and how to improve your handstand even without going to the gym by training at home on your own. Let’s get started.
Getting better at handstands happens over time by doing the proper exercises on a daily basis. That includes training your core, shoulder, back, and legs while also learning to maintain balance.
How to Get Better at Handstands
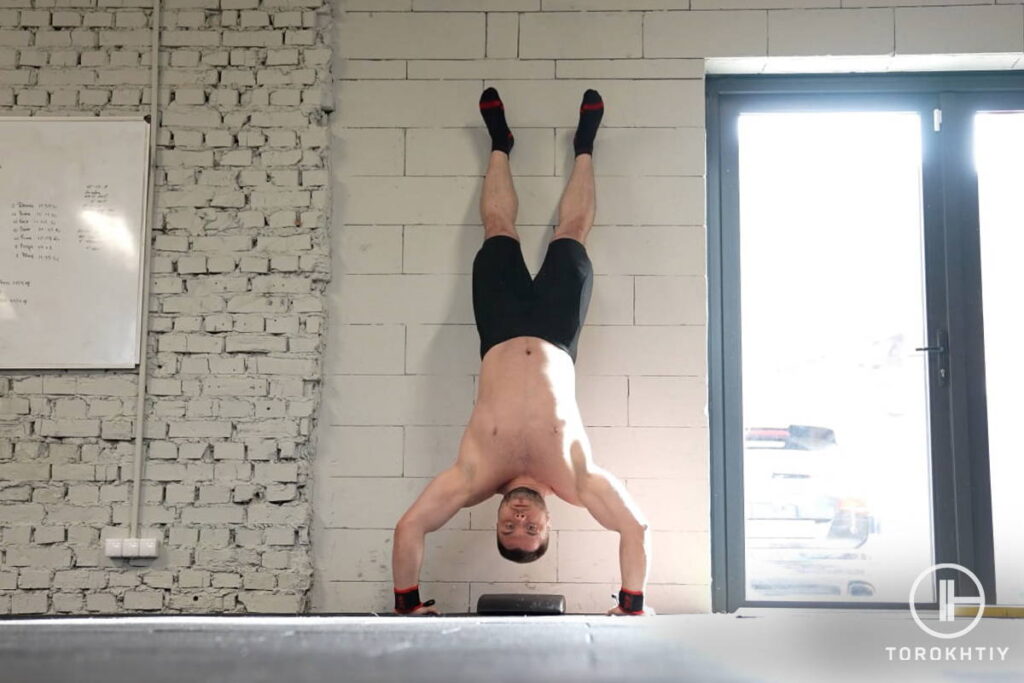
The handstand is one of the vital gymnastics exercises that you can learn. Having said that, it’s also one of the hardest ones, as it requires control over all the major muscle groups in your body, and so for people who have trained professionally, it remains one of the most challenging exercises to perform.
In fact, if you haven’t been a professional gymnast for some part of your life when you try doing a handstand for the first time, it’s likely to be quite a scary experience, and you can count it as a win if you manage to hold a handstand for even one second.
However, much like with anything else in life, you can get better with handstands over time, as long as you’re willing to take the right steps. Practicing handstands takes patience, as it’s likely that you will need months to develop the necessary strength and skill to perform the exercise, even if you do handstand drills every day.
Below, you will see seven key tips so that you can start improving right away.
Tip 1: Squeeze Your Butt
When you get into a handstand, you should keep your glutes activated the whole time, right from the moment you kick up. If we have to be honest, you need to try and squeeze your butt as hard as you can even before the kick itself and then work as hard as you can to keep that position throughout the entire duration of the exercise.
This part of the exercise is one of the hardest for people to understand and do, as it’s challenging to focus on squeezing your butt while standing upside down and trying not to fall on the floor. However, this is a vital part of the exercise that must be learned in order for the handstand to be done correctly.
Tip 2: Tighten Your Abs
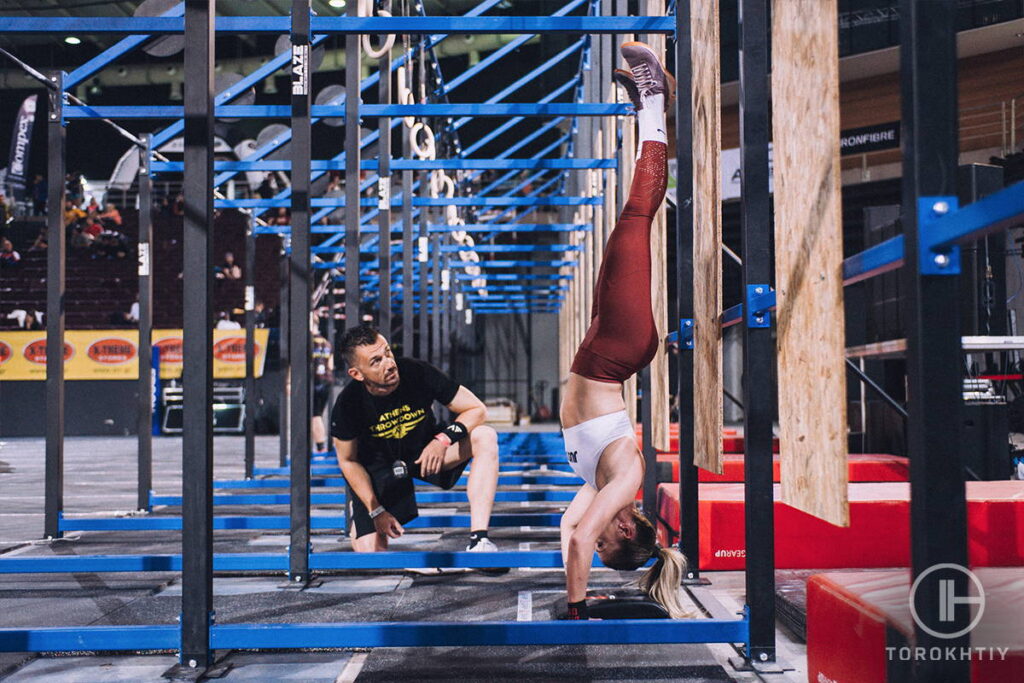
You also want to keep the abs tight during the entire handstand while squeezing your glutes. The ideal position which you can get to is a hollow body, one with your abs tight and your back flat. This will help you remain upright in proper form without arching your back, which in the best case scenario looks sloppy and, in the worst one, causes you to fall.
Tip 3: Use the Shoulders to Push
Once done with the kick-up and you’re in a handstand position, you have to start pushing through the shoulders immediately. If you’re not certain what that is, you can think of it as pushing your arms away from the ground, trying to get the body as upright as possible. This will prevent you from losing your form and keep you safe from falling, as most people tend to fall because they collapse into their shoulders when doing a freestanding handstand.
Tip 4: Place Your Arms Next to Your Ears
After you kick up, you need to place your arms as close to your ears as possible. They should remain in that position as you go into a handstand, as that will give you a nice, solid, straight line from the ground to your toes. Most people face trouble keeping their arms straight and close to their ears for more than a minute; however, the more you do this drill, the easier it will get.
Tip 5: Point Your Toes
Once you’re squeezing your butt and your legs are tight and kept together, you don’t want your feet to be flopping around. That’s why, as a real gymnast, you should try to point your toes while doing the handstand. This will make it easier for you to keep your lower body tight, and it will give you the straightest line possible.
Tip 6: Look Behind You
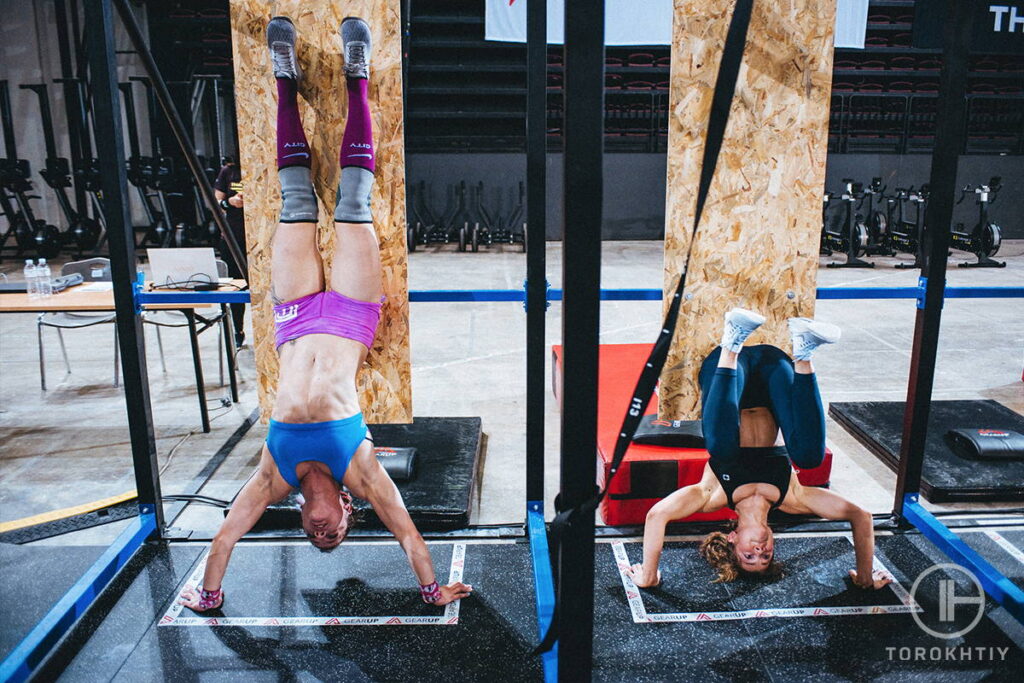
Most people tend to look down when doing a handstand, as that’s what feels most natural. However, you need to work on breaking this habit as it’s an indication that your form is not good enough – looking down can make you lose your balance, along with ruining the straight line you’ve worked so hard on achieving.
That’s why, instead of looking down at your hand, you should try to aim your eyes at a point behind you. This will make sure your head stays in the right position, thus allowing you to achieve the straight line we’ve talked so much about.
Tip 7: Use Wrist Wraps
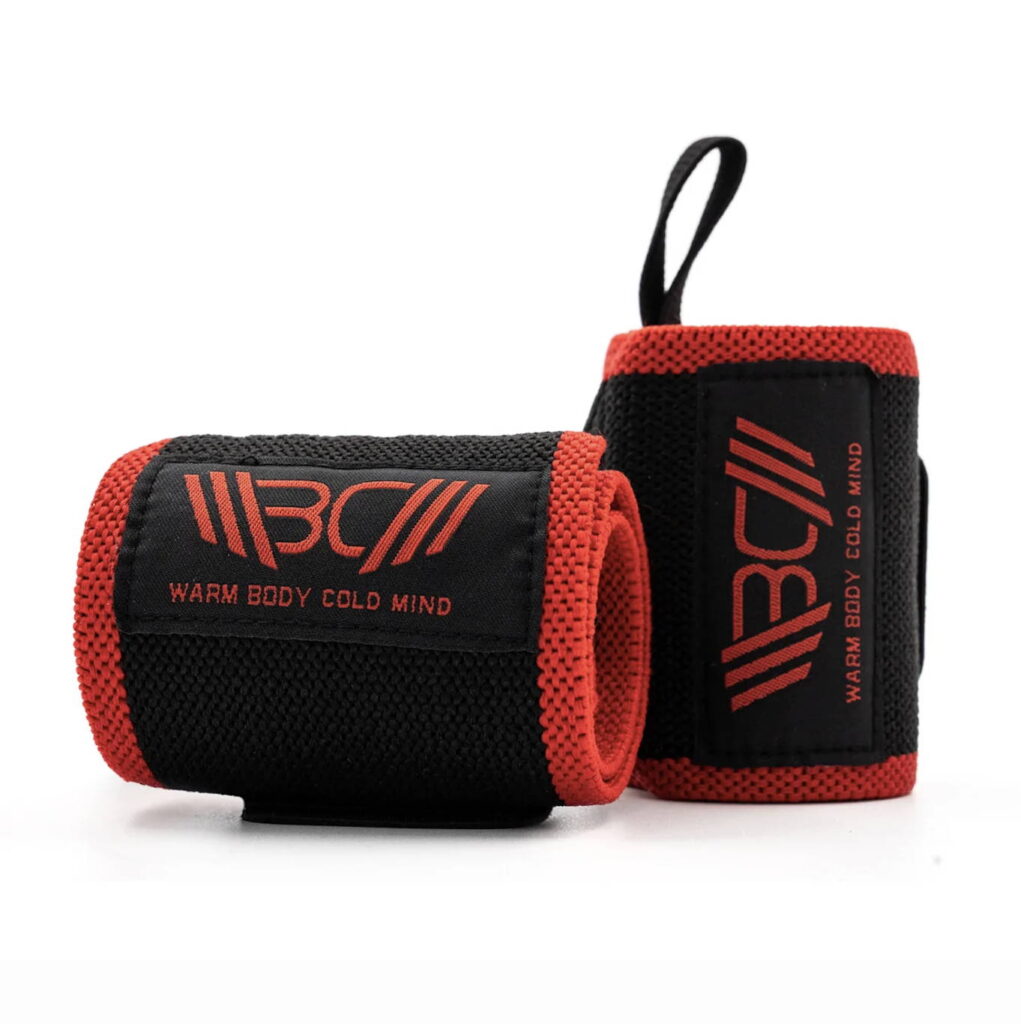
Handstands are hard on the wrists, as you have to balance your entire body weight on your palms. And if you don’t have a lot of experience with gymnastics, you will definitely start to feel pressure and pain in the wrist area. The best way to protect yourself against that is by using wrist wraps, which can help you feel more stable while also preventing possible injuries.
If you haven’t bought wrist wraps before, or you’re looking for a new pair, we can recommend the Warm Body Cold Mind ones. They’re made from premium velcro, will definitely support your wrists, and can be used for various different workouts, including fitness and Olympic weightlifting.
Best Drills for Handstands
These tips we just gave you won’t help all that much if you don’t know what exercises for handstands to do. Doing the handstand without developing strength is impossible. And so, when people ask us, “How to hold a handstand longer” the answer is always the same – by doing more workouts focused on building the needed strength and learning the proper position.
That is why below, we will give you four basic drills that you can do to improve your handstands over time.
Drill #1: Pike Rolls with Swiss Ball
This great exercise will help you build strength and correct your shoulder positioning so that you can handle handstands better. Performing it is fairly simple – you just need to get a swiss ball (one that’s more inflated and bigger), get into a plank position with your knees on the ball, and then roll forwards until you’re on top of your shoulders in what’s called a pike position. Try to stretch your shoulders while keeping your abs tight and your toes pointed. After that, roll back down slowly.
Drill #2: Handstand Wall Walks
If you’re a beginner, it’s likely that you will find handstand wall walks a bit intimidating at first. However, they can really help you increase your strength and endurance when it comes to handstands. To do them, you need to first get into a plank position right in front of a wall, then walk backward until your stomach is facing the wall. After that, lift one hand up and quickly move in one direction before placing the hand back down.
In case you find this too scary at first, try to do it on a soft surface such as a mat or a carpet; alternatively, you can use a ton of pillows that will keep you safe if you fall. You can also practice walking in a pike position until you’re feeling confident enough to try it in a handstand one.
Drill #3: Handstand Shoulder Touches
Shoulder taps or touches are one of the best exercises to build strength and condition so that you can do handstands. It’s key that when you do them, you focus on keeping your whole body tight as you push through the shoulders. Ideally, you can work towards having more control so that your hands are not slapping down after each tap – it should be quiet.
Drill #4: Chest Against the Wall Hold
If you want to practice holding freestanding handstands and you’re having trouble, then you can do this exercise often, and you will see results. Begin in a pushup position with your feet on the wall, and then walk until your hands are a foot from the wall. Then, remove one foot from the wall and balance it overhead in a straight line. After that, slowly remove the other foot from the wall and hold the handstand for as long as you possibly can. It’s better to hold a handstand with your chest against the wall, as it more closely imitates a freestanding handstand and enables you to learn proper posture while developing strength.
FAQ
Can I learn to handstand in 30 days?
Yes, it’s completely possible. It all depends on your past experience with gymnastics and how much strength you have already developed doing other training. And if you really put your mind to it, you can manage to do a handstand even in a few weeks.
Why are handstands so hard?
Handstands are one of the most difficult bodyweight exercises because they require full-body strength and balance. You need a strong core, lower and upper body, in order to hold the weight for a long while being in a downwards facing position.
What muscles help with handstands?
Handstands target multiple muscle groups, both in the lower and upper parts of the body. Starting with the delts, lats, rhomboids, traps, arms, and your core. Then they also require strength in the legs and in the glutes, as you have to keep them squeezed throughout the entire exercise.
Conclusion
Getting better at handstands is not easy; however, it’s also not a mission impossible. If you’re willing to put in enough effort, work, and dedication, over time, you will see improvements and progression. It’s all about doing the right exercises and following correct advice. If any of you have tried improving their handstands – what have you found works the best? Let us know in the comments below.
Also read:
- Best Wrist Wraps For Calisthenics
- Rogue Wrist Wraps
- How To Use Wrist Wraps
- What Do Wrist Wraps Do
- Best Wrist Wraps For Powerlifting
- Wrist Pain From Lifting
- Ring Dips Functional Fitness
References:
- Major Muscle Groups of the Human Body// Study.com: https://study.com/learn/lesson/major-muscle-groups-human-body-muscle-anatomy-groups-names.html
Why Trust Us?
With over 20 years in Olympic Weightlifting, our team does its best to provide the audience with ultimate support and meet the needs and requirements of advanced athletes and professional lifters, as well as people who strive to open new opportunities and develop their physical capabilities with us.
By trusting the recommendations of our certified experts in coaching, nutrition, dietology, and sports training programming, as well as scientific consultants, and physiotherapists, we provide you with thorough, well-considered, and scientifically proven content. All the information given in the articles concerning workout programming, separate exercises, and athletic performance, in general, is based on verified data. We ensure that you can rely on our professionals’ pieces of advice and recommendations that can be treated as personalized ones which will benefit you and fully meet your needs.
The product testing process is described in more detail here
Author: Ihor Shymechko
Pro Olympic Weightlifter, Coach
Best Results: Snatch – 208 kg,
C&J – 240 kg
Ihor has been a professional weightlifter since 1996, boasting over two decades of competition experience. His notable achievements include clinching the European Championship in 2009 and securing a silver medal in the 105kg division at the Senior World Championships in 2011. Ihor represented his country in the 2008, 2012, and 2016 Summer Olympics. After retiring from competitive weightlifting, he transitioned to coaching, leveraging his vast experience to guide athletes who now compete on both national and international stages.


