7 Essential Deadlift Accessory Exercises You Need to Know
The deadlift is an excellent exercise for building strength, power, and improving functional movement patterns. It’s a training staple of many gym goers and forms part of a well-built program.
If you want to lift more weight off the ground, you need to work on your weak points. Deadlift accessory exercises should be included as part of a well-organized training routine in order to work on tough sticking points and improve your numbers off the floor.
Let’s take a look at the different sticking points, the possible issues, and the exercises you can do to address them.
Deadlift Accessory Exercises – These should form part of a well-organized and periodized training program. Once you’ve identified a weakness, add the appropriate accessory exercise and reassess your performance on your next macrocycle.
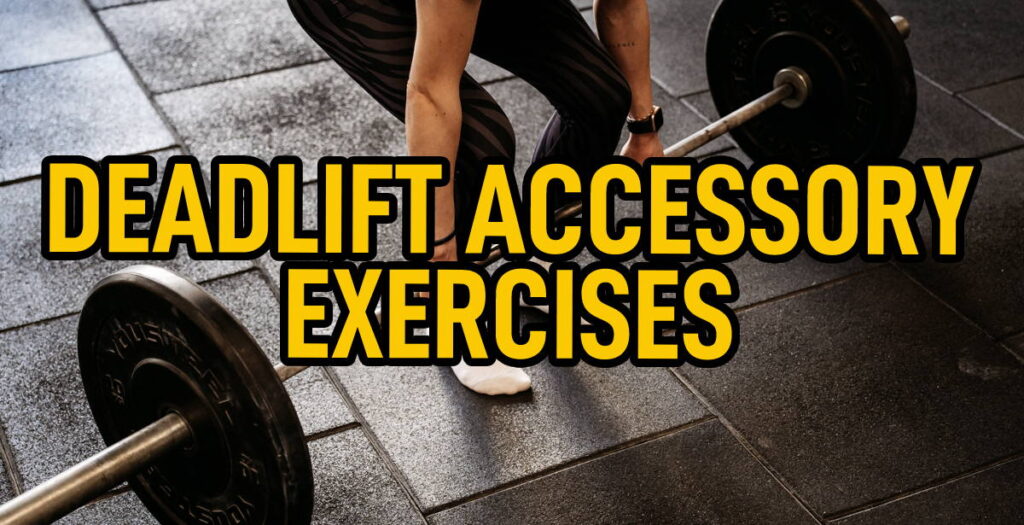
Why are Deadlift Accessory Exercises Important?
A Deadlift is classed as a compound movement meaning it works a large number of muscle groups. To perform a deadlift successfully, different muscle groups need to work together to keep our body in the optimal lifting position and reduce the chance of injury. If certain muscles are weaker or can’t function properly, the chances of lifting the weight off the floor successfully will decrease.
As part of a well-organized deadlift program, the training needs to be periodized to increase the amount of weight that can be lifted off the floor. This means training variables such as volume and intensity need to be manipulated for the body to adapt to the new stressor and grow stronger for the next training phase.
Even with a good program, weak points at different phases in the deadlift may exist, leading to reduced performance and possible injury if not addressed. Accessory exercises for deadlifting can help to address these weak points and improve performance, making them an integral part of training.
How to Choose Assistance Exercises for the Deadlift
Bottom Phase – Initial pull off the floor where the barbell goes to the bottom of the knees
Mid Phase – Transition between the bottom of the knees to above the knees
Top Phase – Extending the knees fully to lock out the barbell at the top of the deadlift
To address them, you need to first identify what phase the issue is in and what the weak point is. Let’s take a look at the three phases in more detail and the possible weak points:
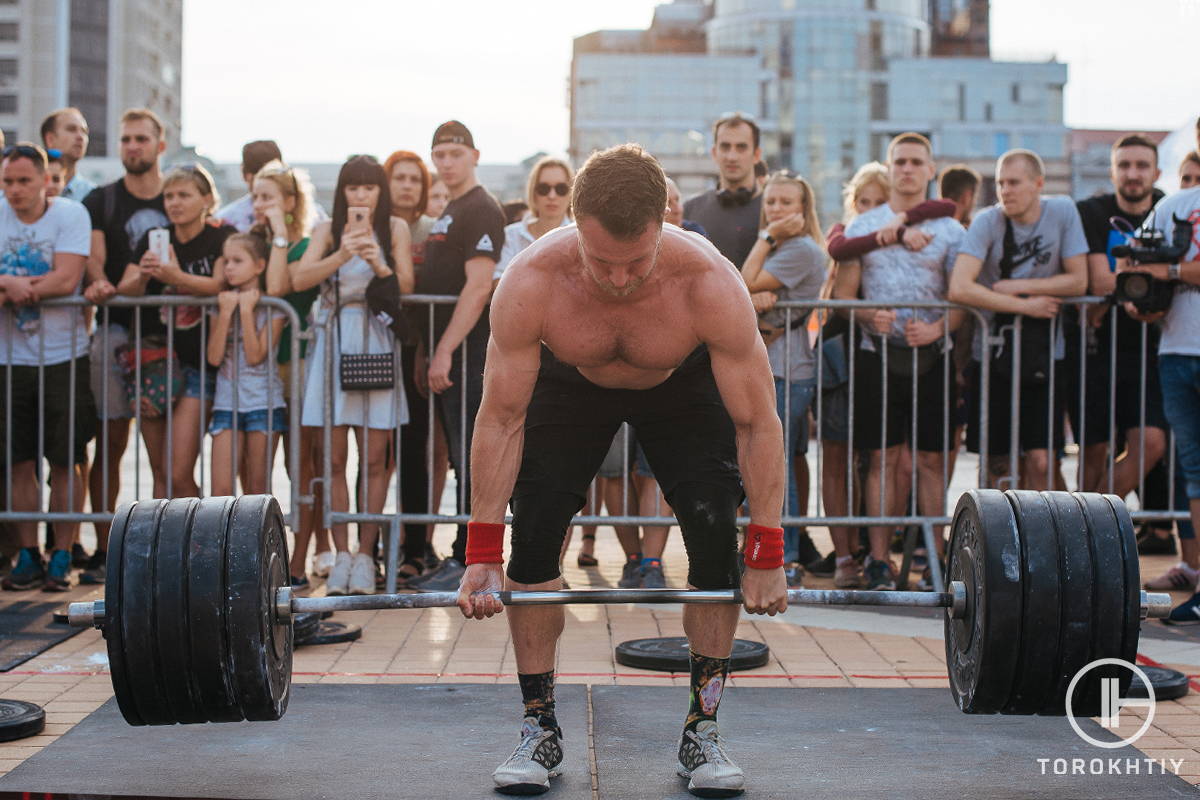
Bottom Phase – Weakness off of the Floor
The bottom phase of the deadlift involves pulling the bar off the floor and bringing it to just below the knees. It involves the initial lifting set up which is perhaps the most important part of the lift.
Weakness off the floor may be caused by two main factors – underdeveloped prime movers or incorrect technique at the starting position. Both of these lead to less power generation off the floor which causes the weakness.
At the bottom of the deadlift, the knees need to extend first before the hips and torso become involved. The quads are primarily responsible for knee extension meaning this is the first place you should look.
Mid Phase – Weakness at the Knees
The middle phase of the deadlift involves bringing the barbell from the bottom to the top of your knees. This is one of the more common sticking points seen with powerlifters at any level.
Transitioning from the bottom to the mid-phase of the deadlift involves transferring the load from your knees to your hips. If you’re experiencing weakness at the knees meaning you can’t get the barbell above them, it means you’re not able to transfer the load successfully.
This can be caused by underdeveloped muscles that are responsible for the load transfer or incorrect technique which may lead to reduced force production.
Once the barbell is at the knees, the load demand shifts from the muscles responsible for knee extension to those responsible for hip extension. This means your glutes take over from your quads, making hip-dominant accessory exercises the right place to start.
Top Phase – Weakness at the Lockout
The top phase of the deadlift is also known as the lockout. This involves bringing the bar from the top of your knees up to the top of your hips whilst fully extending your knees.
The lockout phase of the deadlift involves both hip and back extension, making your glutes and erector spinae muscles the prime movers involved. Underdeveloped lockout muscles, incorrect lockout timing, and poor grip strength are all possible causes of a weak lockout.
If you’re dropping the bar during the lockout, you know its grip strength that you need to work on. If you’re keeping a firm grip, but still can’t get the bar up then you know it’s either a poorly timed lockout, underdeveloped lockout muscles, or a combination of both. I’ve addressed the specific assistance exercises for deadlift lockout issues down below.
Best Deadlift Accessory Exercises and When to Use Them
Once you’ve identified the weak point that’s impacting your deadlift, adding these accessory exercises into your program can help to improve your performance. Here are the best accessory exercises for deadlifting and what weak points they help to address:
They Have Long Limbs
People that are tall with long arms and legs tend to favor the sumo deadlift over the conventional one. The reason for that is that the shorter you are, the less ROM there will be. On the other hand, longer limbs naturally extend the ROM; thus, the sumo variation is one of the ways to make the ROM more sensible for people with long legs and arms.
Especially for people with long femurs, the sumo deadlift is likely to be a much easier and preferred variation, as the conventional one requires them to bend down low.
Lack of Mobility
Because we often spend our days sitting down – in the car, in an office, or at home, we have compromised hip mobility. And for some people, it’s so bad that they cannot perform the range of motion required for the conventional deadlift. In those scenarios, the sumo is typically the preferred variation, as it doesn’t require a lot of mobility in the hip and is generally less taxing on the lower back.

With that said, we also have to mention that for some individuals, the wider stance required for the sumo deadlift is also challenging. They’re unable to maintain a neutral spine, even with the easier variation. In such cases, it’s better to first work on fixing the mobility issues and then move on to deadlifting.
Deficit Deadlifts
These involve pulling the barbell off the floor using a raised surface to elevate the position of your feet. This increased range of motion makes the bottom phase of the lift harder, activating your posterior chain to a greater degree than in conventional deadlifts.
Deficit deadlifts are designed to improve your pull time off the floor, with conventional deadlifts likely feeling easier when you program them back in. Benefits may also include improved proprioception at the bottom of the lift and a stronger lumbar spine area.
To perform deficit deadlifts, use a pair of weight plates or a small wooden box. Use the same technique as you would with a conventional deadlift.
Front Squats
These are similar to back squats, however, the barbell sits on the front of your shoulders rather than your lower back. This places more emphasis on your quadricep muscles and less stress on the lower back region compared to normal squats.
This makes front squats a great exercise for developing quad strength, something that may be impacting the bottom phase of the deadlift if you’re struggling with knee extension. They are also a great back-friendly exercise if you struggle with lower back issues or have an injury you need to work around.
To perform a front squat, assume a hip-width stance and place the barbell on the top of your shoulders close to your neck. Grip the barbell with a shoulder-width grip and brace your core before moving down into a deep squat position. Keep a neutral spine throughout.
Banded Deadlifts
Banded deadlifts involve attaching a resistance band to the barbell, increasing the tension as you bring the barbell higher up your body when the band starts to stretch. As you need a bigger hip drive to bring the barbell up past your knees, banded deadlifts lead to much greater glute activation. This makes them good if you need to work on weak glute muscles that are causing you difficulty bringing the bar above your knees.
To perform banded deadlifts correctly, attach a resistance band to the middle of the barbell shaft perpendicular to your feet. Loop either end around the barbell and stand on the other end with both feet before lifting normally.
Rack Pulls
These involve pulling the barbell from a higher starting point by using the safety pins or J-hooks on a squat cage. The higher starting position allows you to focus on maintaining a tighter body position during the lockout phase of the deadlift, improving your technique and working on timing issues. Rack pulls also improve grip strength as you’re able to load more weight onto the bar without worrying about being able to pull the barbell off the floor.
To perform rack pulls correctly, place a barbell on the safety pins or J-hooks of a squat rack above knee height. Bend your knees slightly and lean forward at the hips. As you lift the bar, extend through your hips and pull your shoulders back to lock out the barbell.
Hip Thrusts
The hip thrust is an excellent exercise for building glute strength. It’s one of the best exercises to isolate your glute muscles, making it ideal for deadlift accessory training.
Hip thrusts allow you to focus on driving your hips up by fully engaging your glute muscles to drive the barbell upwards off the floor. By using an elevated bench or podium to support your back, less emphasis is placed on your lumbar spine and hamstring muscles.
To perform hip thrusts correctly, brace your core and lift the barbell by extending your hips and keeping your upper back against the bench. As you lift, brace your core and squeeze your glute muscles as your hips fully extend. Pause at the top and slowly lower to the starting position.
🔻12-Week Deadlift Strength Program by Oleksiy Torokhtiy
Unlock your true potential with our Deadlift Strength Program!
Designed for athletes by 2-time Olympian Oleksiy Torokhtiy, this 12-week program focuses on enhancing your deadlift strength, strengthening your back and legs.
Program details:
- 12 weeks;
- 3 days / week;
- 45-120 minutes per session;
- 50+ specific exercises;
- Focus on New Result in Deadlift;
- One-time payment, no recuring payments;
- Full access to all training content.
Start now and boost your deadlift results!
FAQ
What’s Needed for Good Deadlift Technique?
Good deadlift technique can be broken down into the starting position and actual lift. During the starting position, check your body is correctly positioned in relation to the barbell and your hands and feet are in the correct positions. Assume a tight body position and use the correct bracing technique throughout whilst keeping a neutral spine.
What Are Some Examples of Sumo Deadlift Accessory Exercises?
Sumo deadlifts target the glutes and adductors more than conventional deadlifts due to the wider leg stance in the starting position. Examples of suitable accessory exercises include good mornings, hip thrusts, and wide stance leg presses.
Conclusion
Performing accessory lifts for deadlifts alongside the main deadlift program is a great way to work on your weak points and improve your performance.
The accessory exercises I’ve listed above provide some excellent examples to add to your workout routine. Make sure to follow the correct technique guidance and start small before working up.
Do you perform deadlift accessory work? What do you think of the exercises given above? Let’s discuss your deadlift performance in the comments and I’ll see if I can help.
Also read:
- How to Improve Deadlift Grip Strength
- Deadlift Sets and Reps
- Rounded Back Deadlift
- Deadlift Starting Position
- How to Improve Grip Strength for Deadlift
- Barefoot Deadlift
- What Muscles Does Deadlift Work
- Sumo Deadlift vs Deadlift
- Deadlift Program
References:
- Conventional vs. Sumo vs. Hex Bar Deadlift: What’s the Difference? // Barbell Rehab: https://barbellrehab.com/deadlift-variations
- Lumbar spine loads during the lifting of extremely heavy weights // NCBI: https://pubmed.ncbi.nlm.nih.gov/1758295/
- Genes and Athletic Performance: An Update // NCBI: https://pubmed.ncbi.nlm.nih.gov/27287076/
- Muscle fatigue: general understanding and treatment // NCBI: https://www.ncbi.nlm.nih.gov/pmc/articles/PMC5668469/
Why Trust Us?
With over 20 years in Olympic Weightlifting, our team does its best to provide the audience with ultimate support and meet the needs and requirements of advanced athletes and professional lifters, as well as people who strive to open new opportunities and develop their physical capabilities with us.
By trusting the recommendations of our certified experts in coaching, nutrition, dietology, and sports training programming, as well as scientific consultants, and physiotherapists, we provide you with thorough, well-considered, and scientifically proven content. All the information given in the articles concerning workout programming, separate exercises, and athletic performance, in general, is based on verified data. We ensure that you can rely on our professionals’ pieces of advice and recommendations that can be treated as personalized ones which will benefit you and fully meet your needs.
The product testing process is described in more detail here
Author: Sergii Putsov
Head of Sport Science, PhD
Best Results: Snatch – 165 kg,
C&J – 200 kg
Sergii Putsov, Ph.D., is a former professional weightlifter and National team member, achieving multiple medals in the 94 kg weight category at national competitions. With a Master’s degree in “Olympic & Professional Sport Training” and a Sport Science Ph.D. from the International Olympic Academy, Greece, Sergii now leads as the Head of Sport Science. He specializes in designing training programs, writing insightful blog articles, providing live commentary at international weightlifting events, and conducting educational seminars worldwide alongside Olympic weightlifting expert Oleksiy Torokhtiy.


