5 Tips On How To Hold A Handstand Longer
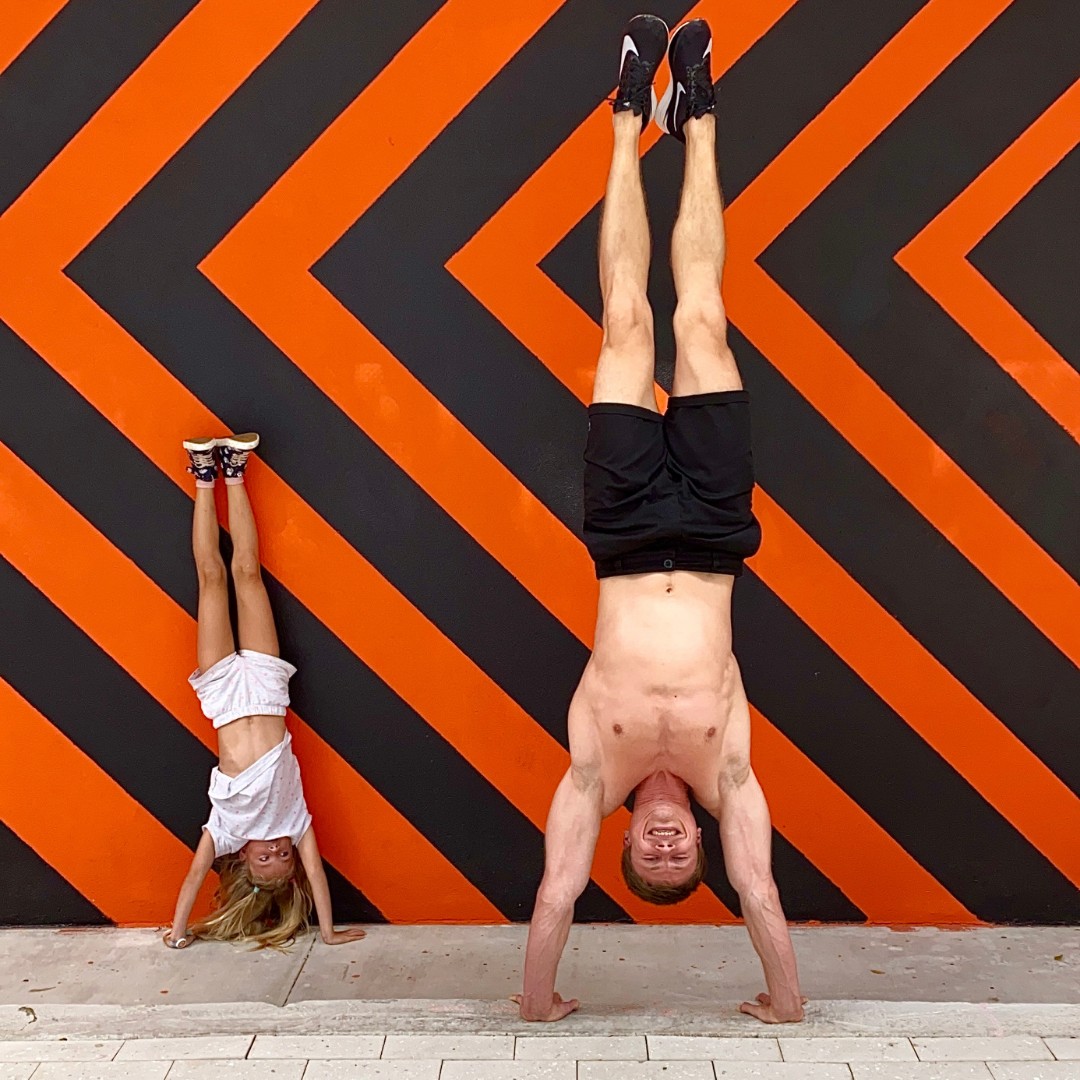
Handstands are the ultimate calisthenic feat. They require insane, head-to-toe strength and balance to lift your body and keep it that way. The latter part challenges more people as they wonder how to hold a handstand longer.
Whether it’s hampering your chances to be on a gymnastic team or cheer squad, we’ll discuss major techniques and precautions that may allow a seamless progression. Mastering handstands will enable you to do walkovers and handsprings, thus rounding off your floor skills.
How to hold a handstand for a long time? Learn to balance your body weight on your wrists and shoulders. Proper stacking, weight shifting, and prior training help out. Start with a wall or spotter friend, and progress steadily!
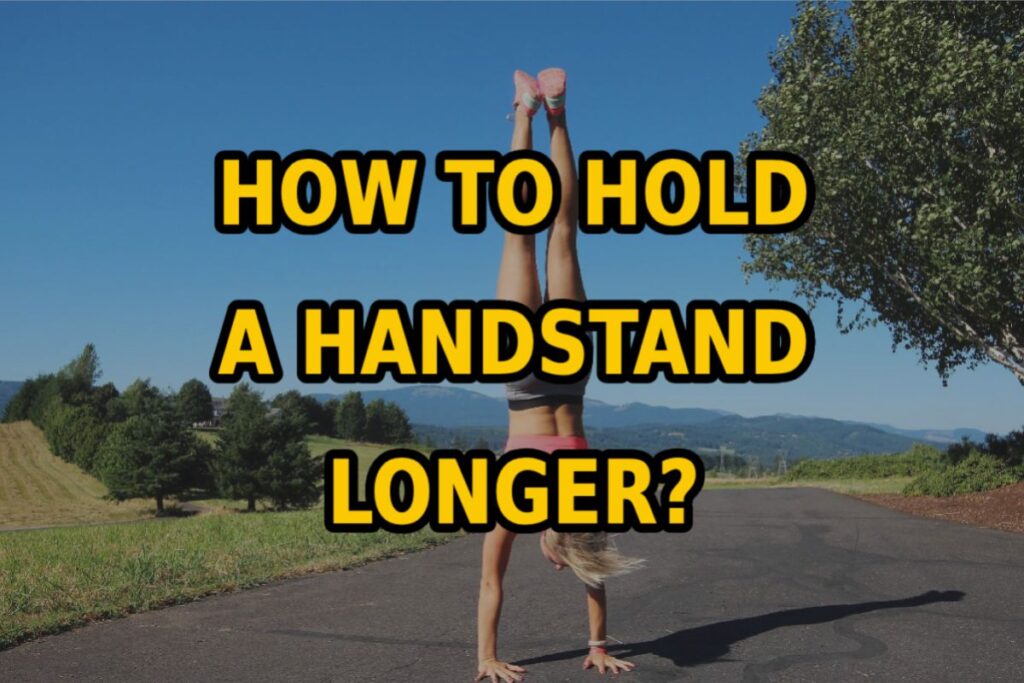
How Long Can Most People Balance A Handstand?
Before delving into the ways of extending your handstands’ duration, we must define the average. You may be setting an unrealistic target. After all, how long is too long?
If beginners can balance for 5-10 seconds, it’s a marvelous achievement. Aspiring acrobats and gymnasts target to hold a handstand for a minute or longer. Then, they ramp up the difficulty by incorporating walks, pirouettes, push-ups, and single-arm stunts. Fitness WODs also throw in different activities in your upside-down world. Nicolas Montes de Oca owns two unrivaled Guinness World Record titles. He performed single-arm handstands for 71.82 seconds on a stable platform and 25.78 seconds over a rotating one.
Why Can’t I Hold A Handstand For A Long Time?
Mostly, the trouble lies in what you’re doing as opposed to what you’re not! Therefore, singling out mistakes can already put you to the average duration. It may come from one or many of these motor perspectives: balance, strength, flexibility, proprioception, body awareness, and muscle memory.
Look for a proper form instead of trying to hold your handstand longer by any means. An incorrect form leads to short and crooked stands, not to mention injuries! Skilled practitioners rely on adaptable and reactive controls, freeing their center of mass from the center of pressure. According to the study in Science of Gymnastic Journals (2013), an inverted position disrupts these points. While maintaining a handstand, your wrists and shoulders give a day off to ankles and hips, respectively. Three possible reasons for failure were readily spotted.
1. Visual Control In A Handstand Position
Initially, your head shouldn’t be fixed on any extreme forward or backward bending angle. Try to look between your hands. It’ll create a stable base, letting you maximize the handstand.
2. Mobility Of Shoulder Blades
It’s natural but wrong to dig in your scapula and neck. Your shoulders should be elevated and open, like hanging off the pull-up bar. Rotator cuffs can act as an elevator besides a stabilizer.
3. Core And Lower-Body Activation
Lastly, you might be avoiding sufficient core and leg activation during freestanding handstands. That promotes an arched back and a banana shape. Engage your core and butts from kick-up to the bail.
Tips For Finding Your Balance On A Handstand
1. Test the Mobility
Cracking the technique and having the capacity to do so are two different concepts. When learning how to balance a handstand, check off the mobility prerequisites. Otherwise, you must do activation and progression exercises, listed in the later section. To optimally perform and hold handstands, your thoracic spine and shoulder blades need a certain degree of flexibility.
There are a couple of tests.
- Thoracic Spine: Get into the seated forward bend position with knees, toes, and forearms touching the ground. Slowly place each hand on the lower back while opening the chest until your spine feels a side bend and the collarbone is at a 45-degree angle to the floor.
- Scapula and Lats: Lie on your back with your legs flat and arms overhead. Secondly, flex your hips to a 90-degree angle while keeping your upper arms in line with your ears. In both cases, you should be looking toward the ceiling. The shortened ROM indicates stiffness in scapular motion.
2. Maintain The Vertical
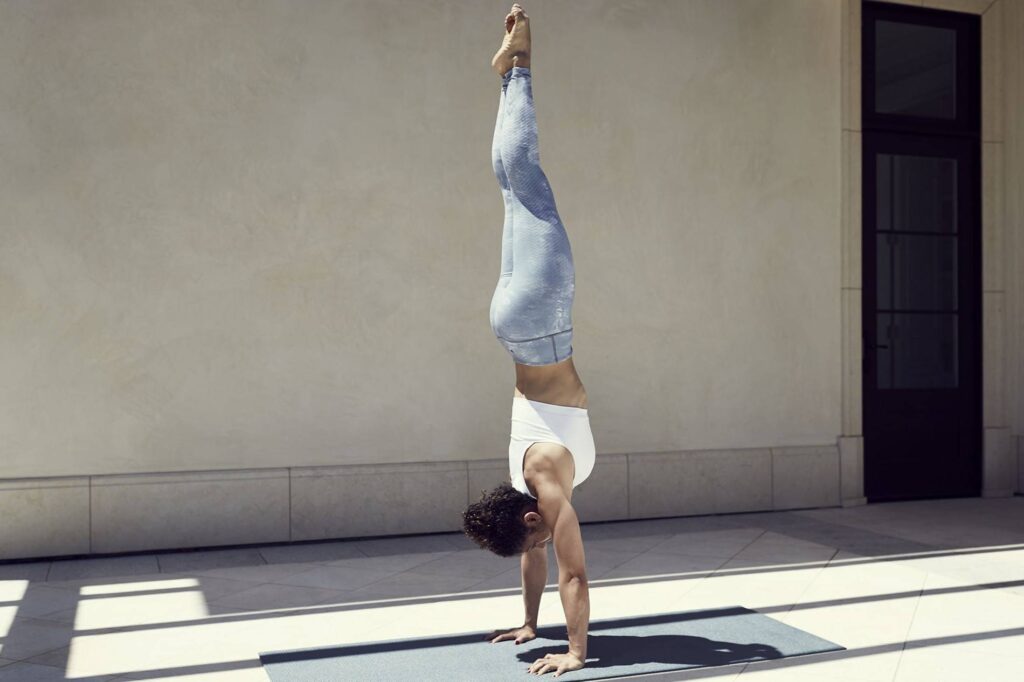
Have you seen the game of Jenga? The stability of the tower depends upon the stacking of each wooden block. When you lunge and kick up to a handstand, your body becomes Jenga. Ensure your shoulders are over your wrists, followed by hips and ankles in the same straight line. Squeeze your legs and butts tight. Also, toes must be pointed for centered strength.
The biggest mistake amateurs repeatedly make is holding back a perfect 12 o’clock position for fear of falling forward. You have to avoid a short kick-up and an arched back simultaneously. If you could find this vertical, you’ll be able to hold a handstand for a minute or two.
3. Shift The Weight
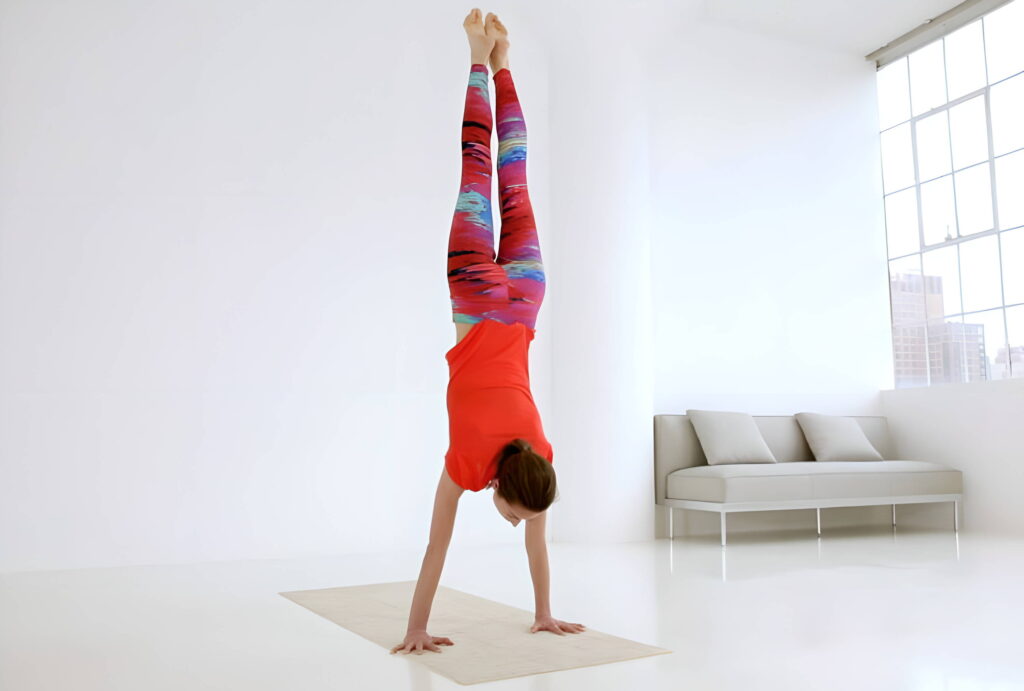
The key to holding your handstand longer is adjusting and adapting to small changes in pressure. Standing calmly like a tree trunk on the edge of a cliff looks nice. But you’re not doing one, at least not anytime soon!
Divide the load throughout your hands – wrists, palms, and pads of your fingers involved! This will bypass wrist strains while extending your off-the-floor duration. Dig in your fingers as if pushing the ground. You can also counteract the lower-body movements (or upper? Ahm!) For example, you can shift the weight between fingertips and wrists if you fall over your head or swing sideways. The aim is to stay in the air with proper stacking and shoulder elevation intact.
4. Regulate the Breathing
Long-term passive handstand exercises promote a healthy brain and delay signs of aging. It does so by opening up blood vessels to the upper compartment. Meanwhile, breathing is paramount to reap these benefits and lengthen the hold.
Most people freeze as soon as the ground appears between their hands. During the exercise, your breathing rate has to increase from 15 times a minute to 40-60 times. Ceasing the oxygen supply is a disaster recipe. Make sure to purposefully draw deep breaths, in and out, to stay in control of the body. It’s one of the most critical yet overlooked segments of yoga.
5. Stabilize The Legs
Our lower half of the body is more robust. It’s a natural foundation. You’d never feel your hands dragging you down when yawning. Get inverted, and these risks arise. You have to drive legs and core stability from your arms and shoulders.
Hence, pack your legs. Leave little to no space between them. It’ll help you align and balance. Some folks find it difficult to squeeze their legs together. Doing a split can provide a way out, building up a seesaw with arms as a fulcrum point. One leg extends forward while another rests at the back with either straight or bent knees. It can tremendously aid fingers in weight shifting.
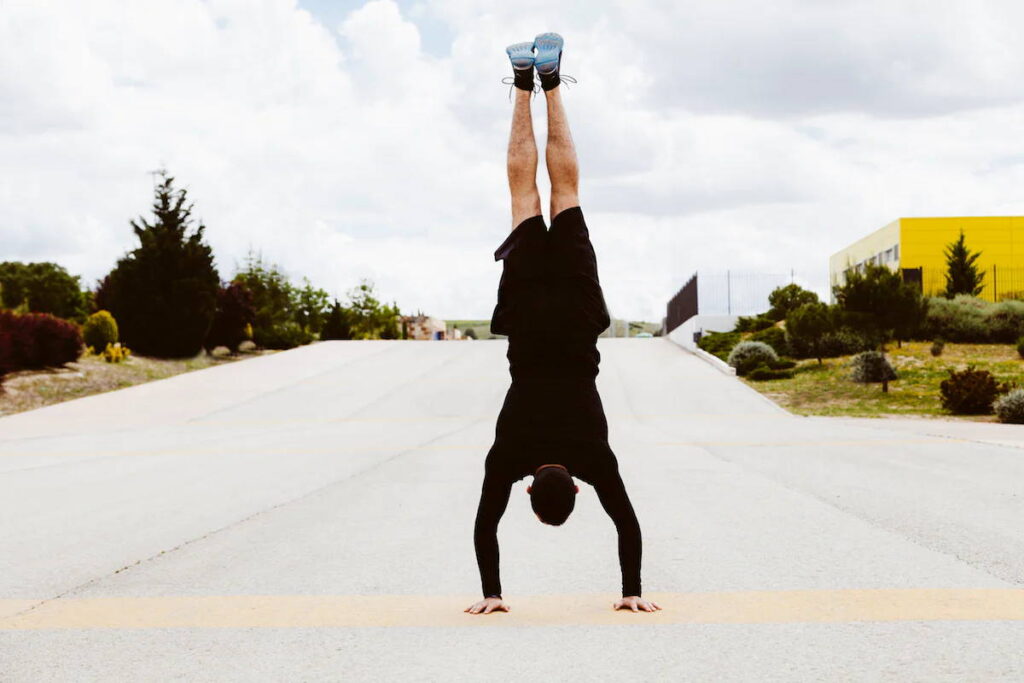
Exercises To Improve Your Handstand Balancing Time
Building primary strength and stamina will help you perfect the art of standing on your hands. Upper-body strength is a defining factor of persistence and balance in such difficult static positions. Depending on your fitness level, you may have to do some or all of the following exercises and drills.
1. Wrist Exercises
Start with exercising wrists as they solely contact the ground, absorb load, and dictate the movement. Several workplace studies associate carpal tunnel syndrome with a prolonged non-neutral wrist posture. Therefore, training your wrists in different ways will ensure a sustained handstand hold.
- Wrist Stretches: Fully extend one arm in front of you. Pull back its digits with your free hand, bending the wrist toward you. Do a push at the back of the same hand for forward flexion. Harvard Medical School recommends both extensor and flexor stretches for pain-free hands.
- Palm Lifts: Get on the floor on your hands and knees like a crawling baby. The point is to raise your palms, leaning a decent amount of body weight onto the fingers. Try to hold this position and do repetitions for as long as comfortable.
2. Arm Exercises
Strong arms are pivotal in handstands. You should overload the biceps, triceps, and forearms to increase their endurance. An inverted stance is comparable to vestibular rehab, mainly focused on head and eye movements. Changes in the center of mass, spatial features, and visual cues embolden the challenge.
- The Plank: It’s the starting position for push-ups where your back and legs are still and straight. Getting started is the easy part. Holding for a few seconds tells more about your arms. Do multiple reps or transition planks into push-ups.
- Shoulder Press: Take free weights (a single barbell or dumbbell in each hand). Drive the resistance up from your collarbone to overhead, arms fully extended. Benefits include strength and size of shoulder muscles, triceps, and traps.
3. Core Exercises
A study on rhythmic gymnasts concluded that core training improves trunk strength and muscle activation values. The core – encompassing abs and lower back – is a connecting and stabilizing column between the upper and lower extremities of the body, whether you’re standing on your feet or hands.
- Hollow Hold: The beginner-friendly isometric movement fires up your core and spinal muscles. Lie on your back with your arms overhead. Slowly tighten your abdomen and lift your legs and arms. The lumbar region should remain the only contact point, looking like a boat.
- Bicycle Crunch: One of the best exercises for abs and obliques, this maneuver is a must-do. Again, lie on the floor but slip your hands under the head this time. Bicycle while twisting the torso. Alternate knees between straightening and bringing up to armpits.
4. Progression Exercises
You can incorporate progression movements alongside or after strength training. These mimic parts of a handstand, giving you enough practice and control. They’ll help you hold your handstand longer. Get the hold of a spotter when trying for the first time.
- Wall Handstand: You’ll do the complete handstand but on a wall support. Leave a foot space when kicking up. As soon as the heels start swaying toward the wall, use weight-shifting techniques to push them back into proper alignment gently.
- Wall Walk: Do a vertical caterpillar on the wall. You’ll be starting into a push-up position with your feet locked at the base of the wall. Take steps up above the wall and move your hands accordingly. Do a reverse walk after completely straightening and holding your legs for 10 seconds.
Risks Of Doing Handstands
Handstand is considered an intermediate-level gymnastic wonder. As with all resistance exercises, there are a couple of risks, especially if you overestimate your capabilities. Those with pre-existing injuries should steer clear or seek expert advice, at least. In any case, you’re supposed to gradually up the game to avoid crumbling on yourself.
This epidemiological research study reported 1.28 injuries per 1000 hours of calisthenics sessions. Most of those pertain to the upper body and younger, unskilled participants. The following three potential dangers were exposed.
1. Blisters And Bruises
You can incorporate progression movements alongside or after strength training. These mimic parts of a handstand, giving you enough practice and control. They’ll help you hold your handstand longer. Get the hold of a spotter when trying for the first time.
2. Muscle Soreness
Never-ending soreness after doing flips and handstands isn’t a good sign. Check for muscle and tendon injuries in wrists, shoulders, and hands.
3. Joint Problems
Injuries like sprains, dislocations, and concussions are very rare. However, they may throw a wrench if you haven’t mustered prerequisite strength.
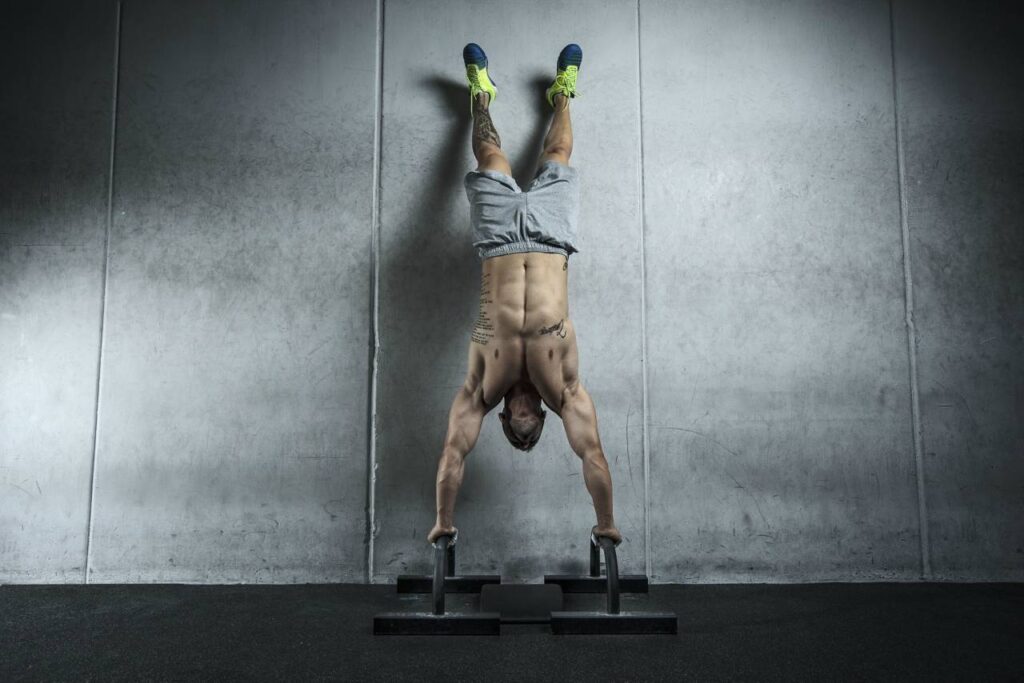
🔻21-DAY HANDSTAND CHALLENGE
Master Your First Handstand in 21 Days!
This program will help you to:
- ✅ Perform the Handstand Without a Wall
✅ Overcome Your Fear
✅ Master the Technique of Entering the Handstand
✅ Strengthen Shoulders and Core Muscles
✅ Improve Coordination, Balance, and Stabilization
✅ Have Fun: Enjoy the process
☀️Designed by a Cirque du Soleil Artist, Exclusively for You. Use it!
FAQ
How Long Does The Average Person Hold A Handstand?
The average person practicing a handstand should be able to hold it for 5-10 seconds without a wall. The exact duration boils down to your technique and strength. If you fail to hold your handstand longer, it’s better to revisit the progression instead of going upside-down multiple times.
Is Holding A Handstand For 5 Seconds Good?
A freestanding handstand for five seconds is a good start. Do three reps of 5-10 seconds. Once that becomes too easy, target to hold a handstand for a minute or two. See your strength and awareness skyrocket!
Conclusion
Falling into the love of a handstand has no end! So, it’s wise to polish your technique, acquire balance and strength, and excel at turning your training upside-down! Repeated falls and uncontrolled sways can be nerve-racking. We’ve all been there! So, how to hold a handstand longer? Align your body into the symphony. Multiple strength and balance exercises will help you do so by isolating the core, wrists, arms, and legs.
Do you perform handstands? What’s the personal best? If you’re going to answer over a minute in the comment section, just write: I am fun at parties!
Also read:
- How to Do a Wall Handstand
- Drills for Handstands
- How to Learn a Press Handstand
- Are Splits Good for You
- Front Splits
- How to Work up to a Handstand
- Can Anyone Learn to Do the Splits
References:
- Mexican man breaks two records with impressive handstand skills // guinnessworldrecords: bit.ly/3Y3z2Kq
- Bidirectional causal control in the dynamics of handstand balance // nature: https://www.nature.com/articles/s41598-020-79730-z
- Balancing in handstand on the floor // researchgate: https://www.researchgate.net/publication/286310059
- Roles of deltoid and rotator cuff muscles in shoulder elevation // ncbi: https://pubmed.ncbi.nlm.nih.gov/11415669/
- Case Report // NCBI: https://www.ncbi.nlm.nih.gov/pmc/articles/PMC9086612/
- Your lungs and exercise // NCBI: https://www.ncbi.nlm.nih.gov/pmc/articles/PMC4818249/#:
- Influence of Strength Abilities on Quality of the Handstand // ResearchGate: https://www.researchgate.net/publication/322682396
- Meta-Analysis // ScienceDirect: https://www.sciencedirect.com/science/article/pii/S2093791114000043
- Exercises for pain free hands // harvard: https://www.health.harvard.edu/pain/exercises-for-pain-free-hands
- The effects of a calisthenics training intervention on posture, strength and body composition // ResearchGate: https://www.researchgate.net/publication/317321468
- Benefits of the overhead press // HealthLine: https://www.healthline.com/health/overhead-press-muscles#benefits
- Effect of 12 Weeks Core Training on Core Muscle Performance in Rhythmic Gymnastics // NCBI: https://www.ncbi.nlm.nih.gov/pmc/articles/PMC8615256/
- American Council on Exercise (ACE)-sponsored Study Reveals Best and Worst Abdominal Exercises // acefitness: https://www.acefitness.org/about-ace/press-room/press-releases/246
- The Epidemiological Profile of Calisthenics Athletes // GermanJournalSportsMedicine: https://bit.ly/3Dqrx6Q
Why Trust Us?
With over 20 years in Olympic Weightlifting, our team does its best to provide the audience with ultimate support and meet the needs and requirements of advanced athletes and professional lifters, as well as people who strive to open new opportunities and develop their physical capabilities with us.
By trusting the recommendations of our certified experts in coaching, nutrition, dietology, and sports training programming, as well as scientific consultants, and physiotherapists, we provide you with thorough, well-considered, and scientifically proven content. All the information given in the articles concerning workout programming, separate exercises, and athletic performance, in general, is based on verified data. We ensure that you can rely on our professionals’ pieces of advice and recommendations that can be treated as personalized ones which will benefit you and fully meet your needs.
The product testing process is described in more detail here
Author: Oleksiy Kononov
Former Cirque Du Soleil Artist
Ukrainian Gymnast
More than 25 years ago Oleksiy started his sports career. He major in gymnastics which is definitely not an easy sport to go in for!
To become an athletic champion (in Ukraine, for instance, we mean here the title of “Master of Sports”) in gymnastics, one needs to spend at least 10 years and start training no later than being six years old. As for Oleksiy, he has fulfilled all the criteria.
During this period of time, definitely not short, he managed to become:
- Master of Sports, Champion of the State and International Tournaments;
- Member of the national team of Ukraine, having a perfect opportunity to train the best team ever!
- Part of Cirque Du Soleil team (as an artist).

